添加结构
在本章节教程中,我们会创建并注册可以生成在世界中的结构。
结构
structure 接口表示可以生成在世界中的结构;即一系列生成在指定位置的方块。部分可能出现结构的示例有:
- 植被
- 花卉
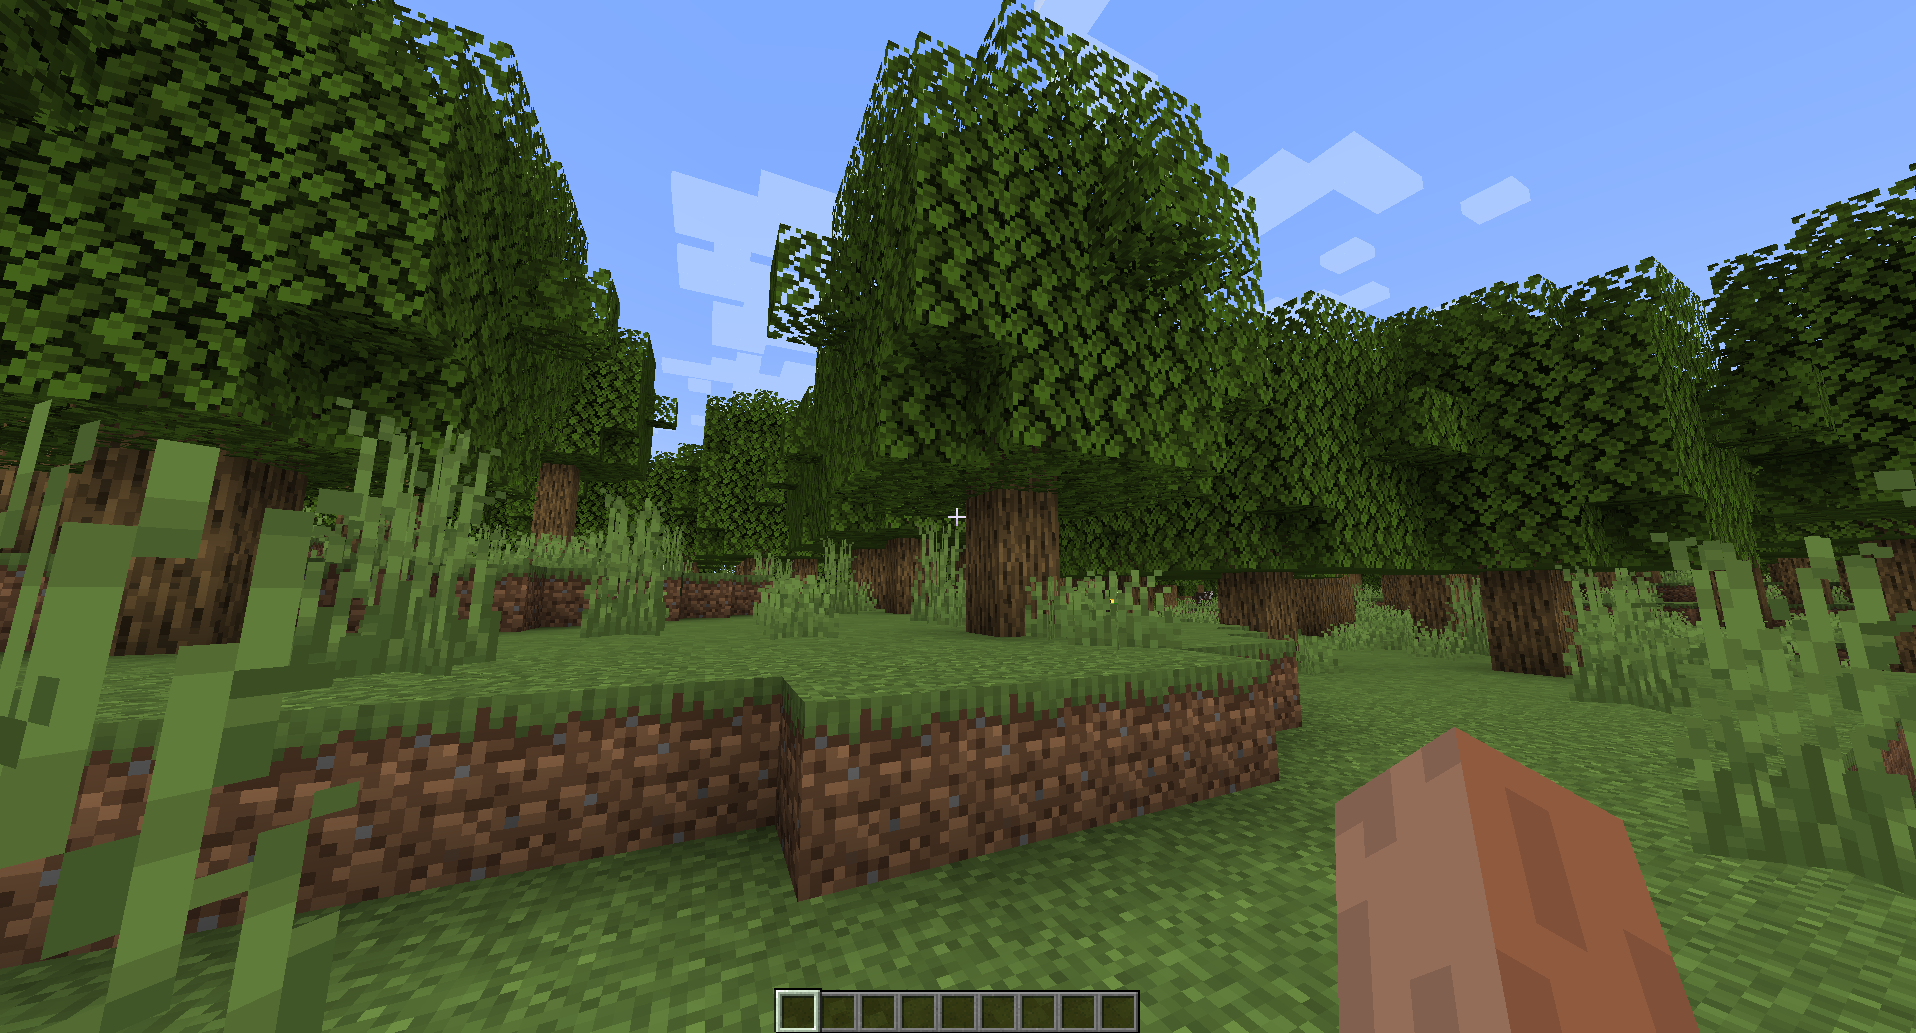
- 树木
- 岩石
结构通常在世界生成后进一步装饰地形。
创建结构
若要创建结构,只需新建类并集成结构接口。在本教程中,我们将结构命名为 com.example.addon.structure.ExampleStructure,你可以自定义它的名称!
package com.example.addon.structure;

import com.dfsek.terra.api.structure.Structure;
import com.dfsek.terra.api.util.Rotation;
import com.dfsek.terra.api.util.vector.Vector3Int;
import com.dfsek.terra.api.world.WritableWorld;

import java.util.Random;

public class ExampleStructure implements Structure {
    @Override
    public boolean generate(Vector3Int location, WritableWorld world, Random random, Rotation rotation) {
        return false;
    }
}
生成结构
现在,我们的 Structure 实现不会生成任何东西。若要在世界中生成结构,我们需要多次使用可读取世界的 #setBlockState 方法。让我们先试着生成树吧!
获取方块状态
首先,我们需要获取生成的 BlockState。在此之前,我们需要通过 Platform 实例获取 WorldHandle。让我们先将 Platform 传入 Structure 的构造器,并使用 WorldHandle#createBlockState(String) 创建方块状态!
public class ExampleStructure implements Structure {
    private final Platform platform;

    public ExampleStructure(Platform platform) {
        this.platform = platform;
    }

    @Override
    public boolean generate(Vector3Int location, WritableWorld world, Random random, Rotation rotation) {
        BlockState oakLog = platform.getWorldHandle().createBlockState("minecraft:oak_log[axis=y]");
        BlockState oakLeaves = platform.getWorldHandle().createBlockState("minecraft:oak_leaves[persistent=true]");

        return false;
    }
}
信息
如果你习惯使用 Bukkit API,Terra 的 BlockState 与 Bukkit 的 BlockData 大致相似。我们将其称作方块状态(Block State)的原因是它更接近对象的含义,另外 Minecraft 内部也使用这个名称。
警告
如果你在附属中实现了结构,你就需要在初始化时就获取方块状态,然后再在结构的 #generate 方法中使用现存的实例。为了让教程更加简单,我们选择在 #generate 方法中获取它们。
通常建议让方块状态可配置,这样可以让你的附属有更强的跨平台兼容性,但如果你需要硬编码方块状态,你可以:
- 直接在结构构造器中初始化它们;
- 在入口处初始化,并将其传入结构;
- 使用 Lazy 工具类实现懒载入。
生成方块
有了方块状态之后,我们就可以将结构放置在世界中了!为了这么做,我们需要使用 WritableWorld 的 #setBlockState 方法。生成树木时,我们先生成树叶,再向其中插入树干:
public class ExampleStructure implements Structure {
    private final Platform platform;

    public ExampleStructure(Platform platform) {
        this.platform = platform;
    }

    @Override
    public boolean generate(Vector3Int location, WritableWorld world, Random random, Rotation rotation) {
        BlockState oakLog = platform.getWorldHandle().createBlockState("minecraft:oak_log[axis=y]");
        BlockState oakLeaves = platform.getWorldHandle().createBlockState("minecraft:oak_leaves[persistent=true]");

        int height = random.nextInt(5, 8);                               // 树干高度将会限制在 [5, 8) 的范围。

        GeometryUtil.sphere(
                Vector3Int.of(location, 0, height, 0),                   // 在树木顶端生成树叶
                3,                                                       // 树叶范围为 3 格球体半径
                leafLocation -> {                                        // 消耗者会在每次球体范围预测后调用。
                    world.setBlockState(leafLocation, oakLeaves);
                }
        );

        for (int y = 0; y < height; y++) {                               // 遍历高度。
            Vector3Int trunkLocation = Vector3Int.of(location, 0, y, 0); // 先在这里生成一部分树干。
            world.setBlockState(trunkLocation, oakLog);                  // 在指定位置生成树干。
        }

        return true;                                                     // 结构正确生成。
    }
}
信息
如果你习惯使用 Bukkit API,你可能想在 Terra 中找到类似 Location 类的东西,这实际上是一种 World 与 Vector3 的结合。Terra API 没有这样的类。将世界从位置中分离可以简化多世界类型的集成。
Terra API 同样缺少 Bukkit 中的 Block 对应类,理由同上。Bukkit 的 Block 实际上是一种 World、Vector3Int 与 BlockState 的杂糅。
注册结构
完成结构后,再次编译安装拓展,你还是...看不到变化。这是因为我们还没有注册我们的结构。如果我们没有注册结构,Terra 就无从知晓它的存在。
Keyed 实现
虽然通过 RegistryKey 实例注册完全可行,但是通过 Keyed 接口注册你想要的对象显得更为明了。注册同类型的多个对象时更加明显。实现 keyed 的代码基本上就是 class Thing implements Keyed<Thing>。
如果你曾接触过 Comparable,它的思路与其相似;Keyed 的参数类型一般与实现它的类相同。
先在我们的示例实例内实现 Keyed。
public class ExampleStructure implements Structure, Keyed<ExampleStructure> {
    private final Platform platform;
    private final RegistryKey key;

    public ExampleStructure(Platform platform, RegistryKey key) {
        this.platform = platform;
        this.key = key;
    }

    @Override
    public boolean generate(Vector3Int location, WritableWorld world, Random random, Rotation rotation) {
        // ... 生成逻辑
    }

    @Override
    public RegistryKey getRegistryKey() {
        return key;
    }
}
当某个对象实现了 Keyed,它必须提供一个 RegistryKey,以此表示它的键 ID。我们通过构造器中设置的字段即可获取它的实例。
创建键
在拥有了一个 Keyed 结构之后,让我们注册它!返回我们的入口,让我们重新访问 ConfigPackPreLoad 监听器。
首先,创建一个待注册的实例。我们的结构需要 Platform 实例,以及一个不重复的 RegistryKey 实例。
- 我们有从依赖注入中获得的
Platform实例。 - 我们可以从任何实现了 Namepspaced 的对象中创建 RegistryKey 实例。在本示例中,我们需要使用附属的命名空间,因此选择 BaseAddon 实例(先前也已注入)创建键:
RegistryKey key = addon.key("EXAMPLE_STRUCTURE"); // 创建注册键现在,我们拥有了实例化结构的对象,可以着手创建实例:
public class ExampleEntryPoint implements AddonInitializer {
    @Inject
    private Logger logger;

    @Inject
    private Platform platform;

    @Inject
    private BaseAddon addon;

    @Override
    public void initialize() {
        logger.info("你好,世界!");

        RegistryKey key = addon.key("EXAMPLE_STRUCTURE");

        ExampleStructure theStructure = new ExampleStructure(platform, key);

        platform.getEventManager()
                .getHandler(FunctionalEventHandler.class)
                .register(addon, ConfigPackPreLoadEvent.class)
                .then(event -> {
                    logger.info("正在尝试载入配置包!");
                });
    }
}
注册实例
有了实例之后,我们终于可以注册它了!但你再次志气啊,我们还需要注册条目。我们可以通过 ConfigPackPreLoadEvent 提供的 ConfigPack 获取它。
platform.getEventManager()
        .getHandler(FunctionalEventHandler.class)
        .register(addon, ConfigPackPreLoadEvent.class)
        .then(event -> {
            logger.info("正在尝试载入配置包!");

            ConfigPack pack = event.getPack();
        });
可以通过 #getCreateRegistry 获取注册条目。我们需要的是结构条目,所以这样写:
platform.getEventManager()
        .getHandler(FunctionalEventHandler.class)
        .register(addon, ConfigPackPreLoadEvent.class)
        .then(event -> {
            logger.info("正在尝试载入配置包!");

            ConfigPack pack = event.getPack();
            CheckedRegistry<Structure> structureRegistry = pack.getOrCreateRegistry(Structure.class);
        });
现在我们有了结构注册条目,终于可以通过 #register 注册结构实例了!
platform.getEventManager()
        .getHandler(FunctionalEventHandler.class)
        .register(addon, ConfigPackPreLoadEvent.class)
        .then(event -> {
            logger.info("正在尝试载入配置包!");

            ConfigPack pack = event.getPack();
            CheckedRegistry<Structure> structureRegistry = pack.getOrCreateRegistry(Structure.class);
            structureRegistry.register(theStructure);
        });
将结构纳入世界生成
注册了结构以后,它就可以用在世界生成中。来试试看把它加入配置包中吧!
创建地物
通过这个配置创建一个能生成这个结构的地物:
id: EXAMPLE_FEATURE
type: FEATURE

distributor:
  type: SAMPLER
  sampler:
    type: POSITIVE_WHITE_NOISE
  threshold: 0.03

locator:
  type: PATTERN
  range:
    min: 64
    max: 150
  pattern:
    type: AND
    patterns:
      - type: MATCH_AIR
        offset: 1
      - type: MATCH
        block: "minecraft:grass_block"
        offset: 0

structures:
  distribution:
    type: CELLULAR
    return: CellValue
    frequency: 0.03
  structures: EXAMPLE_STRUCTURE # 你的结构!
警告
这个配置需要 generation-stage-feature、config-feature、config-locators 以及 config-distributors 核心附属才可生效!这些都是核心附属,Terra 默认包含,但如果你正在自制地形包,则你需要手动设置依赖它们!
将地物纳入群系
现在,只需添加一个 feature 键即可将你的新地物加入群系!如下为将其加入默认包 PLAINS 群系的示例配置:
id: PLAINS
type: BIOME
extends: [ EQ_PLAIN, CARVING_LAND, BASE ]
vanilla: minecraft:plains
color: $biomes/colors.yml:PLAINS

tags:
  - USE_RIVER

colors:
  grass: 0x91bd59
  foliage: 0x77ab2f
  water: 0x44aff5
  water-fog: 0x44aff5

palette:
  - GRASS: 255
  - << meta.yml:palette-bottom

features:
  flora:
    - GRASS
    - FLOWER_PATCHES
  trees:
    - SPARSE_OAK_TREES
    - EXAMPLE_FEATURE # 我们的地物!
总结
现在,启动 Terra 并生成世界,你就可以在配置的群系中看到你的结构了!

 SnowCutieOwO